Part 2: Getting Started with Animaker
3mbVersion
newDownloads
https://www.animaker.com/global-reseller-program#
Description
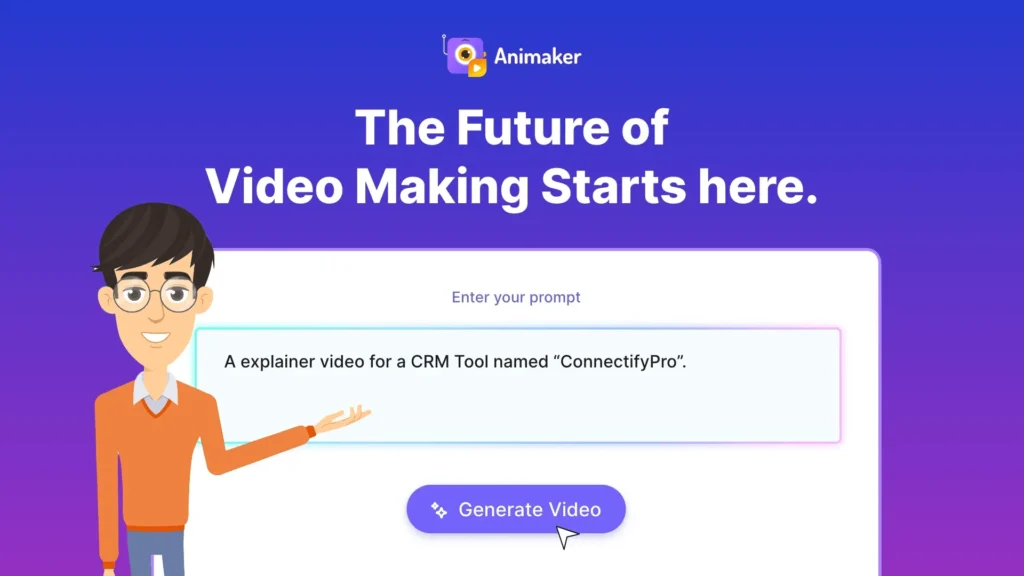
So, you’ve heard about Animaker, and you’re ready to start making your first animated video. Awesome! This part of the guide will walk you through everything from signing up to creating your first project.

1. Signing Up for Animaker
Getting started with Animaker is super easy. Since it’s a cloud-based platform, you don’t need to download heavy software or worry about system compatibility.
Step 1: Visit the Website
Go to Animaker’s official website.
Step 2: Choose “Sign Up”
Click on the Sign Up button at the top-right corner.
Step 3: Create an Account
You’ll have three options to register:
- With your email address
- Using a Google account
- Using a Facebook account
Step 4: Confirm Email
If you use your email, Animaker will send you a verification link. Just click on it, and your account is activated.
That’s it — you’re in!

2. Understanding the Animaker Dashboard
Once you log in, you’ll land on the dashboard, which is the heart of Animaker.
Here’s a breakdown of the key sections:
- Create New Project – Big button to start a fresh animation/video.
- Templates – Pre-made designs for business, education, marketing, and personal use.
- My Projects – All your saved videos live here.
- Brand Kit – Upload your logo, brand colors, and fonts (great for businesses).
- Stock Library – Access millions of stock images, icons, and videos.
- Upgrade Options – Displays pricing and plans for unlocking premium features.
3. Exploring Templates
One of the reasons beginners love Animaker is its extensive template library.
Instead of starting from scratch, you can:
- Browse industry categories (business, education, marketing, personal, etc.)
- Choose from pre-designed animations
- Edit text, colors, and characters to match your needs
Example:
If you run a bakery and want a promo video for Instagram, just search “food” or “bakery” in the template library. You’ll instantly get dozens of prebuilt video templates ready to customize.
4. Creating Your First Project

Let’s go step by step and make your first animated video:
Step 1: Click “Create”
Hit the Create New Project button from the dashboard.
Step 2: Choose Video Style
Animaker gives you multiple formats:
- 2D Animation
- Whiteboard Animation
- Infographic Videos
- Live-Action + Animation Mix
Pick one depending on your purpose.
Step 3: Pick Video Dimensions
- 16:9 (landscape) – Best for YouTube & presentations.
- 9:16 (portrait) – Best for TikTok, Instagram Reels, and Shorts.
- 1:1 (square) – Best for Instagram posts.
Step 4: Customize Scenes
Each project is made of scenes (like slides in PowerPoint).
- Add characters from the library
- Insert text boxes for titles and subtitles
- Use icons, stickers, and props
- Choose backgrounds (solid, gradient, or images)
Step 5: Add Animations & Transitions
You can animate text, characters, and objects with one click.
Example: Make text “bounce” or have a character “walk in.”
Step 6: Add Voiceovers or Music
Animaker lets you:
- Record your voice directly
- Upload pre-recorded audio
- Use text-to-speech (AI voices)
- Add background music from its stock library
Step 7: Preview Your Video
Before exporting, hit the Preview button. This lets you catch mistakes or make improvements.
Step 8: Export

Once you’re happy:
- Click Publish/Export
- Choose quality (Basic, HD, or 4K for premium users)
- Download the file or share directly to YouTube, Facebook, etc.
Congratulations, you just made your first Animaker video!
5. Working with the Character Builder
One of Animaker’s coolest features is its Character Builder.
Instead of using generic avatars, you can design characters that look like you, your brand, or your customers.
Options include:
- Face shape, skin tone, eyes, nose, and mouth
- Hairstyles, clothes, accessories
- Expressions & gestures (happy, sad, surprised, angry, etc.)
Example: A teacher can create a character that looks like themselves for animated lessons. A business can make a mascot character for explainer videos.
6. Saving and Managing Projects
- Animaker automatically autosaves your work in progress.
- Projects are stored in the “My Projects” tab.
- You can duplicate, rename, or share projects with a team.
- Premium users get cloud storage for longer-term project management.
7. Tips for Beginners
- Start with Templates – Don’t stress about creating from scratch.
- Keep It Short – Online audiences prefer videos under 2 minutes.
- Use Subtitles – Many people watch videos without sound.
- Experiment with Characters – Personalized avatars boost engagement.
- Preview often – Saves time and avoids big mistakes.
8. Real-World Example
Imagine you’re a freelancer who has just signed a client wanting an animated explainer video.
Instead of hiring a full animation team:
- You log into Animaker
- Pick a startup explainer template
- Customize it with the client’s brand colors and logo
- Add an AI voiceover
- Export and deliver
What would normally take weeks and thousands of dollars can be done in a few hours at almost no cost.
Wrap-Up for Part 2
By now, you should know:
- How to sign up for Animaker
- What the dashboard looks like
- How to use templates
- Steps to create your first project
- Basics of character building and exporting

